
Hey everyone! I have an exciting new product to tell you about.
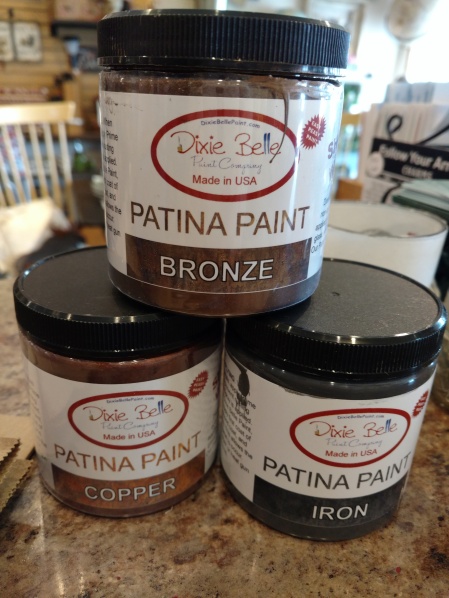
Dixie Belle Paints has now came out with a way to duplicate the look of Patina! Available in Copper, Bronze and Iron! And I just love the way they come out!!
If you’ve ever tried to copy the look of patina on metal then you’ll be amazed at how easy this technique is.

Here’s what you need to know….
- First is prep: on non-metal pieces, just paint any color with Dixie Belle Paint; on metal surfaces you need to use the Prime Start product first. (this protects the piece from corrosion)
- Choose your ‘metal’ paint. Either Copper, Bronze or Iron. Paint your piece and let it dry.
- When the paint has dried, add a 2nd coat and while the paint is still wet you spray it with the activator spray in your choice of blue or green.
- Now the MAGIC starts. Over the next 6 hours the paint will patina due to a chemical reaction. I am pretty impatient so I usually speed up the process with a heat gun.


The reason this works is because there is actual metal in the paint and the result is a True Patina not just a piece painted to look like patina.


Think of all the ways you can use this
- old figurines from the 70’s and 80’s
- glass vases and jars
- ugly metal home decor items
- wooden letters from the craft stores
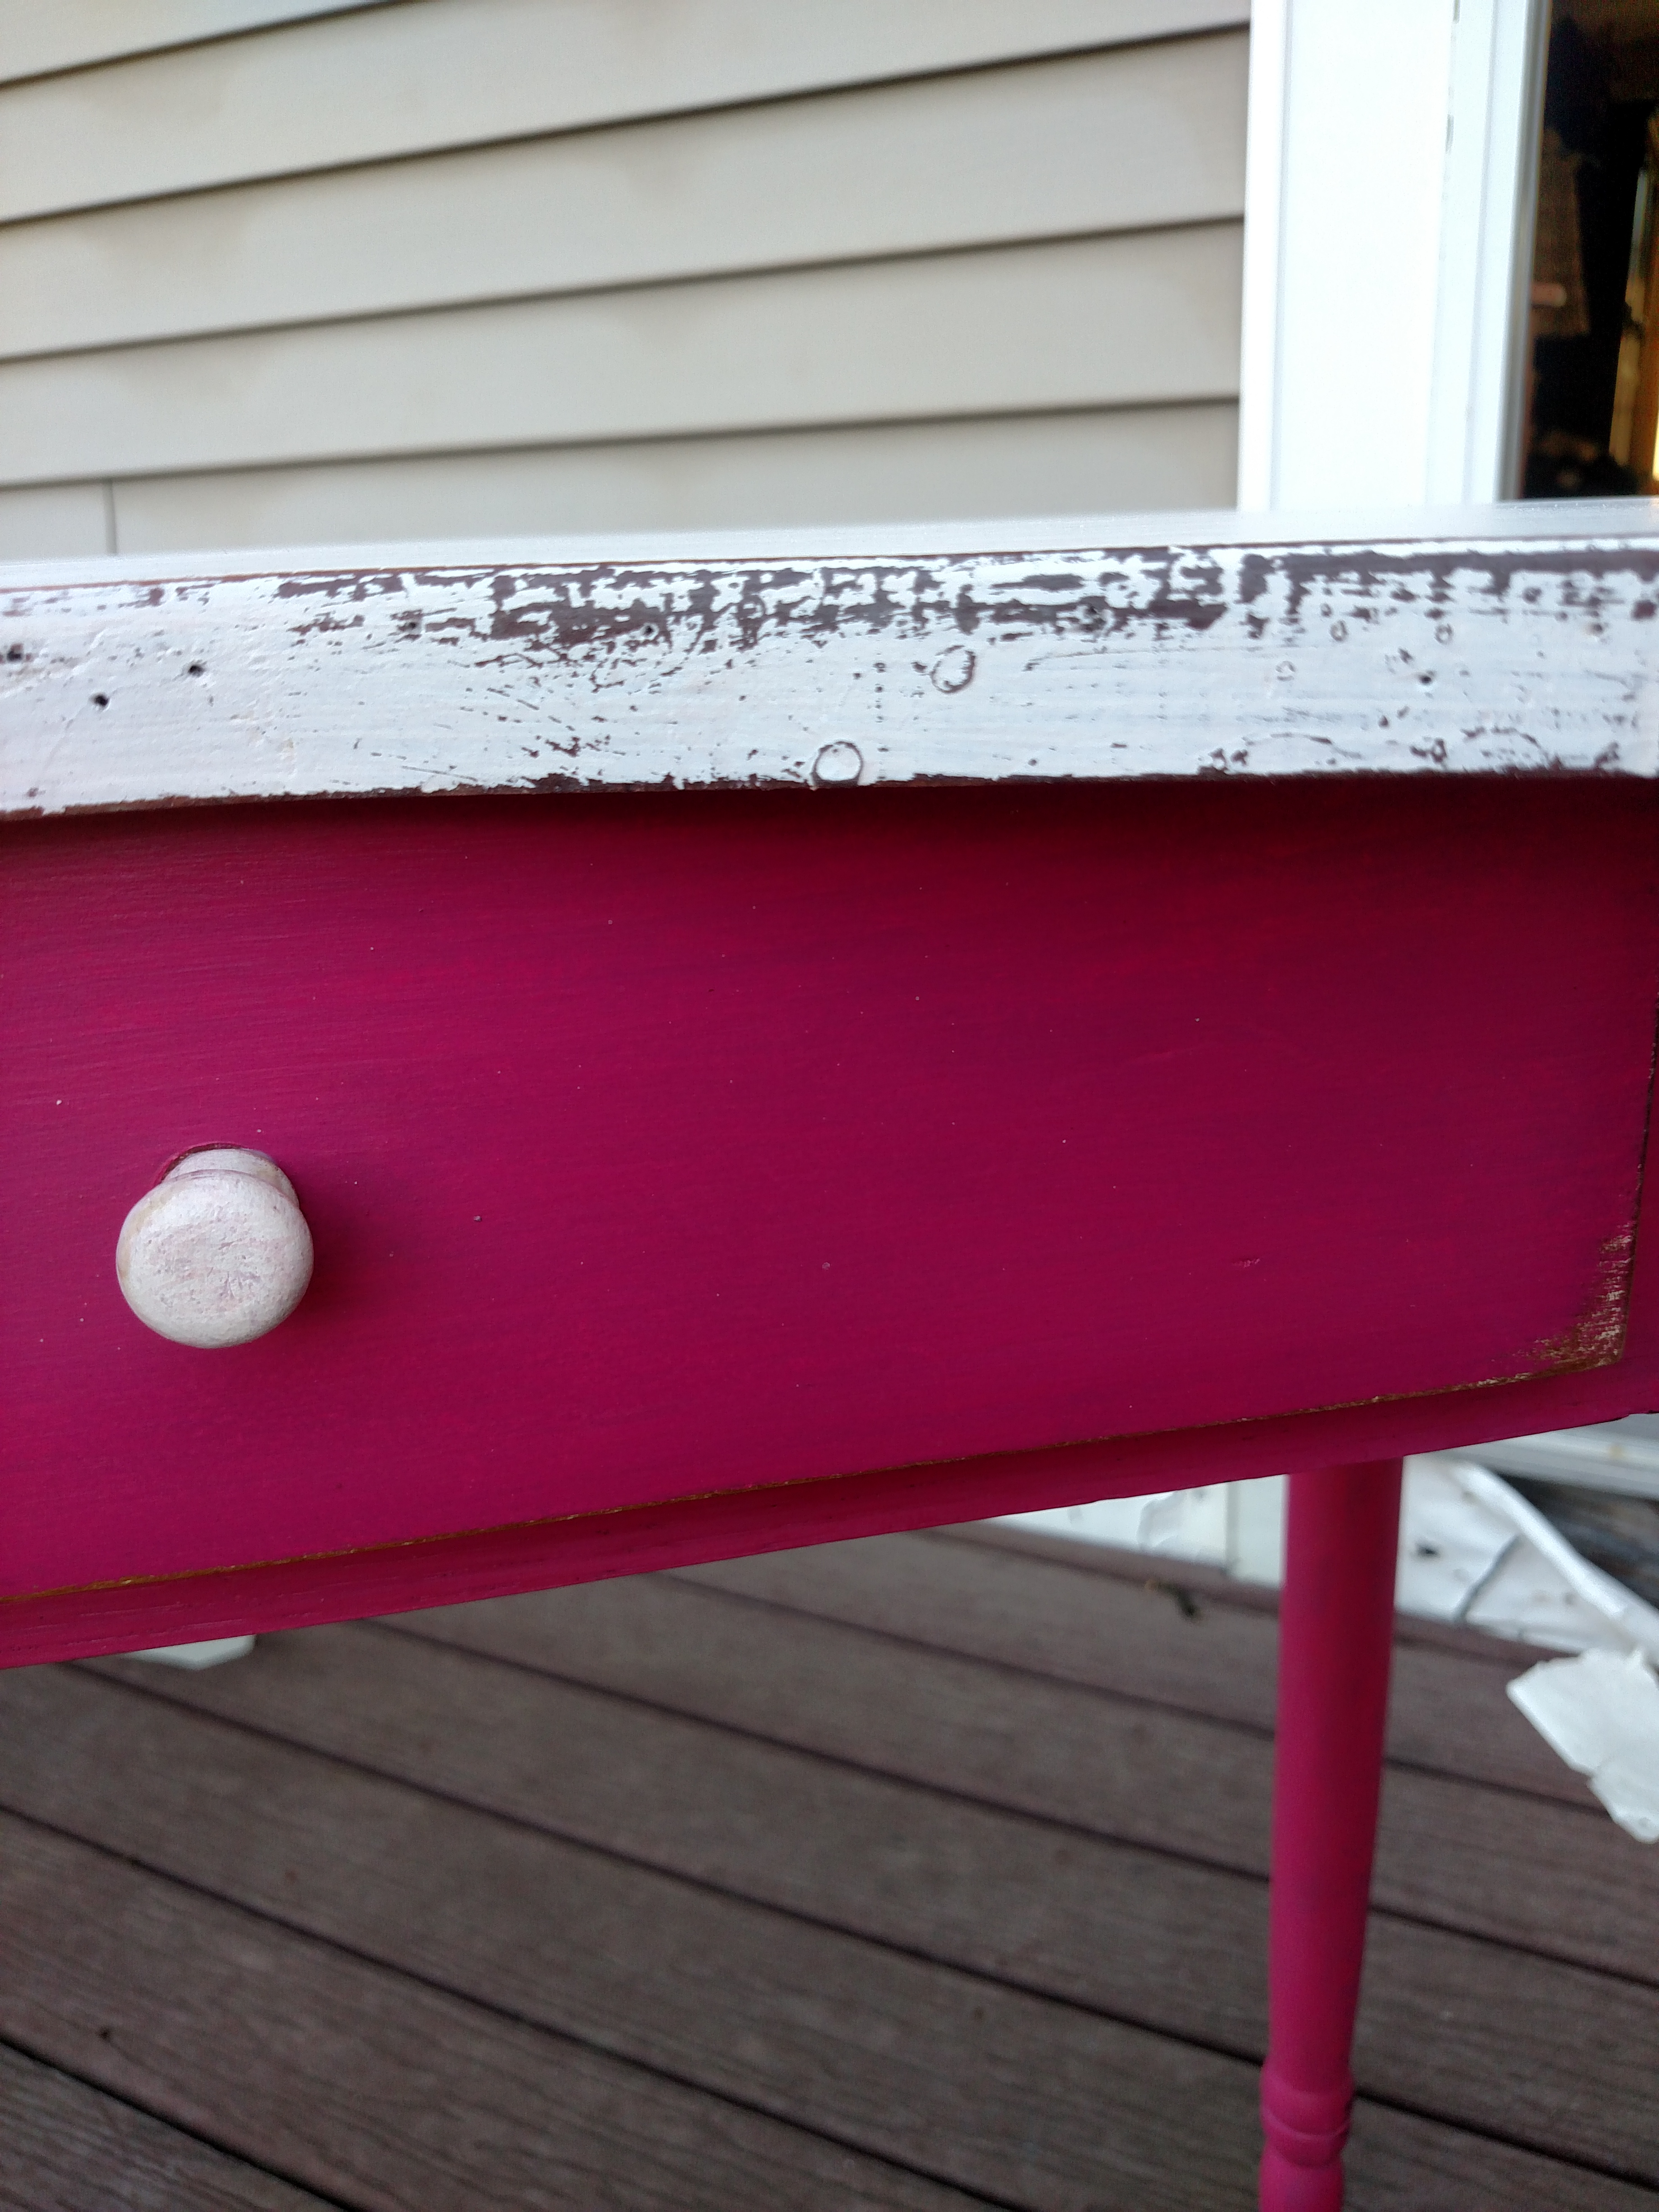
- furniture
- and on and on!!!


If you are local to our shop, stop in for a lesson or a demo and the supplies. Or if you’re farther away, visit our website (reclaymdmarket.com) and under the Shop tab you can order everything you need and it is only $9 flat rate shipping!!
HAPPY PAINTING!!


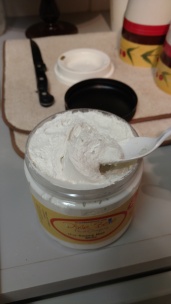 Super Thick!!!!


